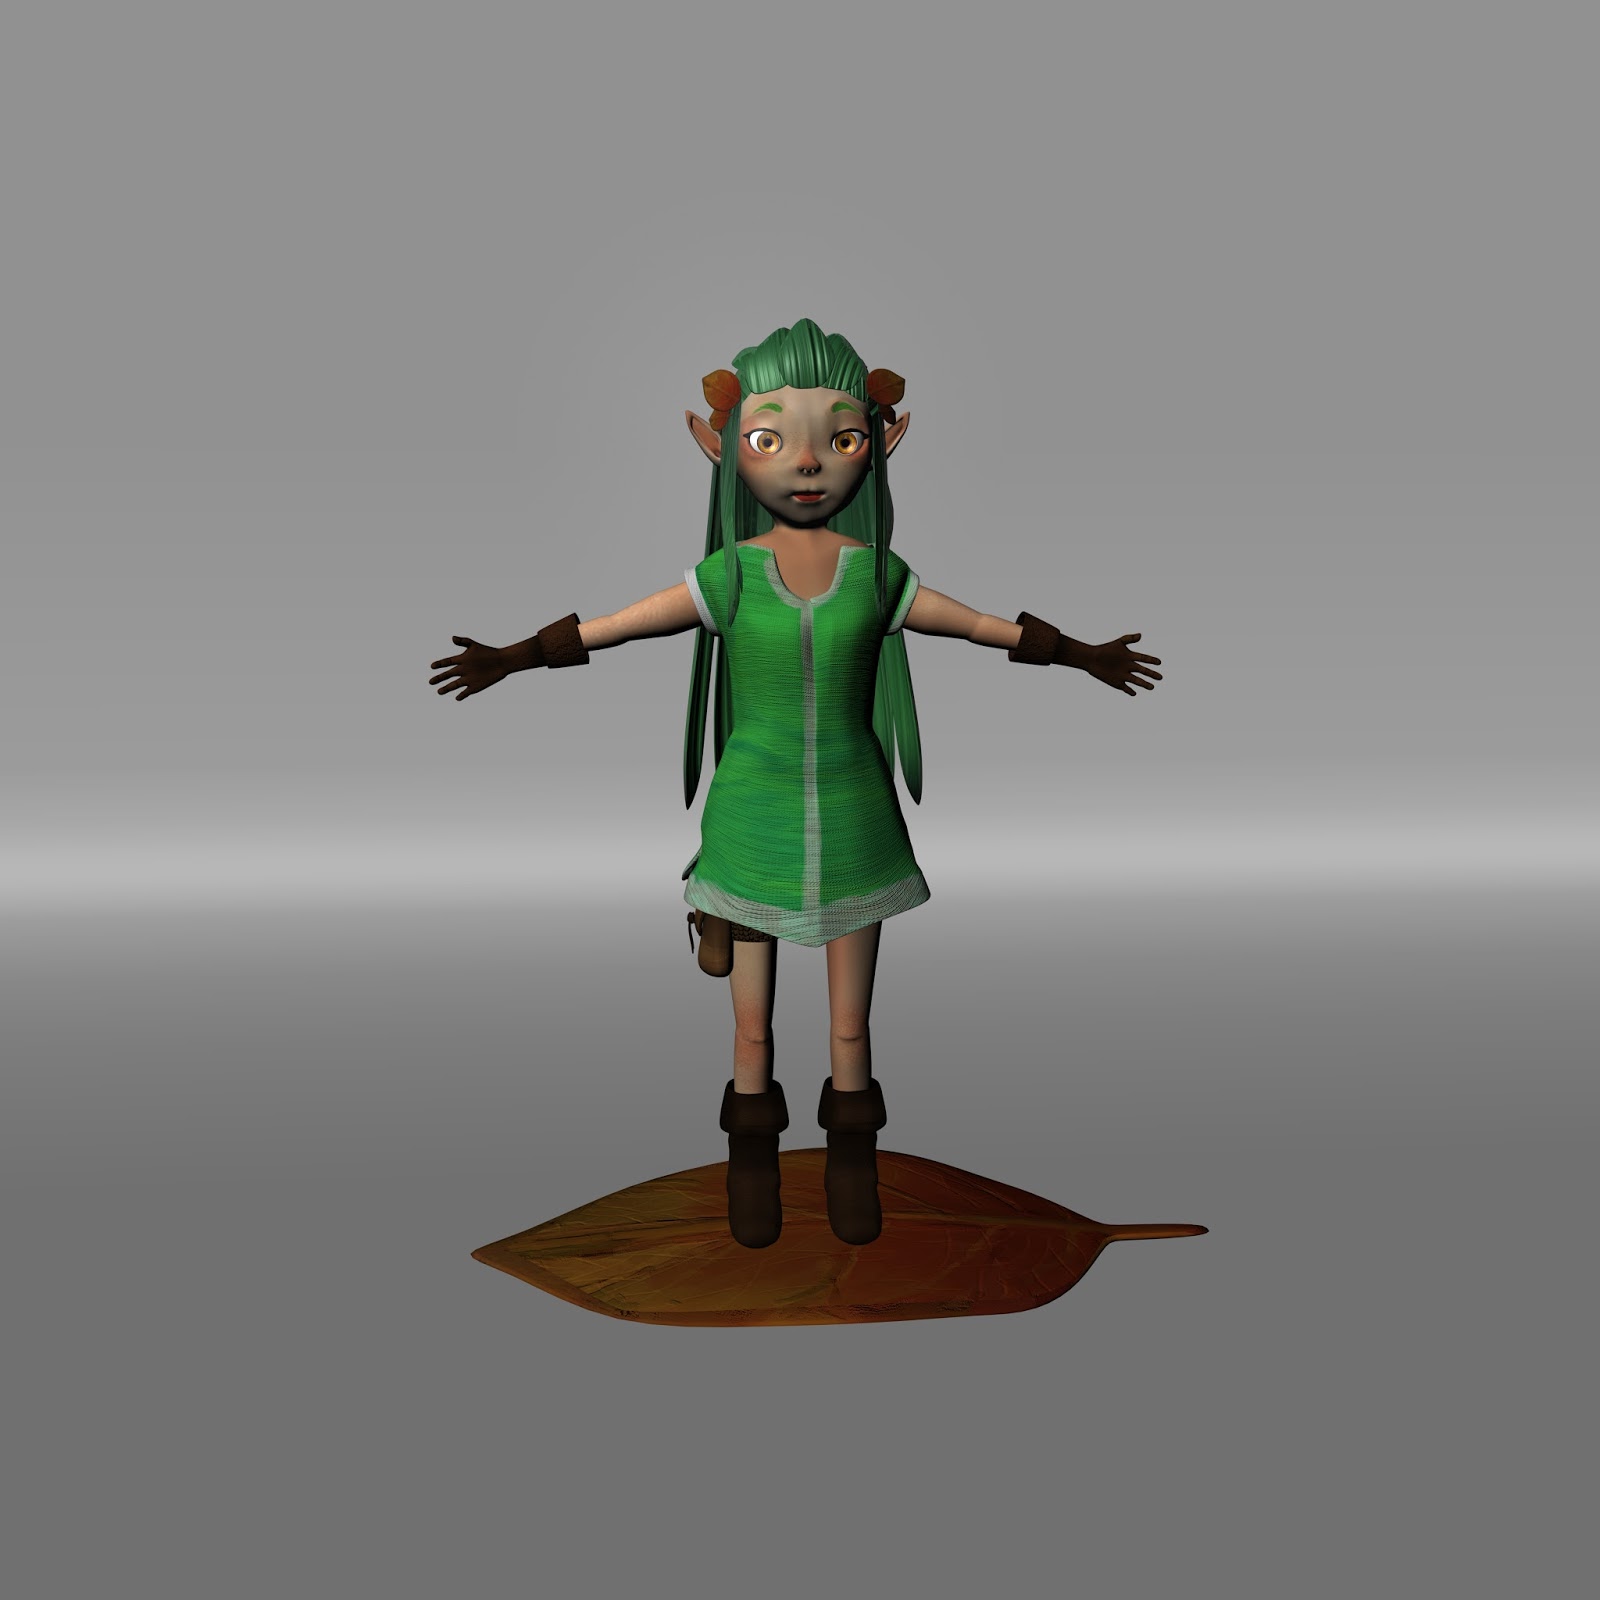
This blog is a 2nd year student's recordings of studying creation of 3D computer graphics in context with creating 3D character concepts and designs, using Autodesk Maya to prepare for industry standard work in game design or animation. Maya is a complex program which takes many hours of dedication to learn and become familiar with. My intention is to create, model and texture a 3D bipedal character to a high standard as well as solving problems through learning the program.
Wednesday, 11 January 2017
Here I amended some of the leg geometry as I found her legs particularly flat and without many dimensions, so I used the vertex pull tool to create some detail for her knees. It was simple enough to do and I am not worried about any distortion in the texture as the movement was very small.
One of the main issues I have found in my method in creating hair was not only the placement of each strand intersecting with one another, (though, this appears to have been successful to the strands towards the front) but where from certain angles bald spots are visible. I made a duplicate version of my characters head, and deleted some of the geometry to create a 'cap'. I then textured this using the hair texture. As a result, any skin showing is now hidden by the hair cap. In future, I would definitely create the hair in one piece unless using a hair rendering option, which mimics real strands of hair.
I also discovered a really interesting texture within the bag strap texture and will consider using it for wood or decorative objects in future.
Texturing the hair using noise, by adjusting the placement of the UV, I was able to stretch across the noise to imitate hair. The colour is created by adding a ramp of three different shades of green. I found that the camera based UV worked far more successfully than creating using the automatic and then manual placement. By rotating the UV within the UV editor I was able to get the hair to flow in the direction I wanted.
Edits to the model's chest. My partner commented that the model looked particularly flat and not very lifelike so I was able to create some depth by tweaking a few of the verticies.
Texturing of the arm has worked well. I used a gaussian blur in photoshop options to blur the skin tone brushes and it has created an even pattern.
Trying to make better use of the hypershade options and tool. I had many unused nodes which I was able to delete through the edit option and now feel that my workspace is easier to navigate as well as having more options to edit with. For me visually this is easier to see the links between each of the texture. It would be far more functional if maya had a back button.
Making use of the layers options allows me to get rid of the other parts of the model without having
One the major issues I had created in my hair was that the hair was only one sided. While I had intended to make full advantage of Maya's transparency abilities to create layers of realistic looking hair, I felt this didn't suit my character and didn't quite look right on the model. I looked into making the planes themselves double sided but found this was for creating textures with a different image or texture on the opposing side. This was a little complex and if nothing else unnecessary. I was able to extrude the hair from the faces on the object's own axis to create a thicker and 3D piece of hair. I am very pleased that this went successfully and without much issue.
Monday, 26 December 2016
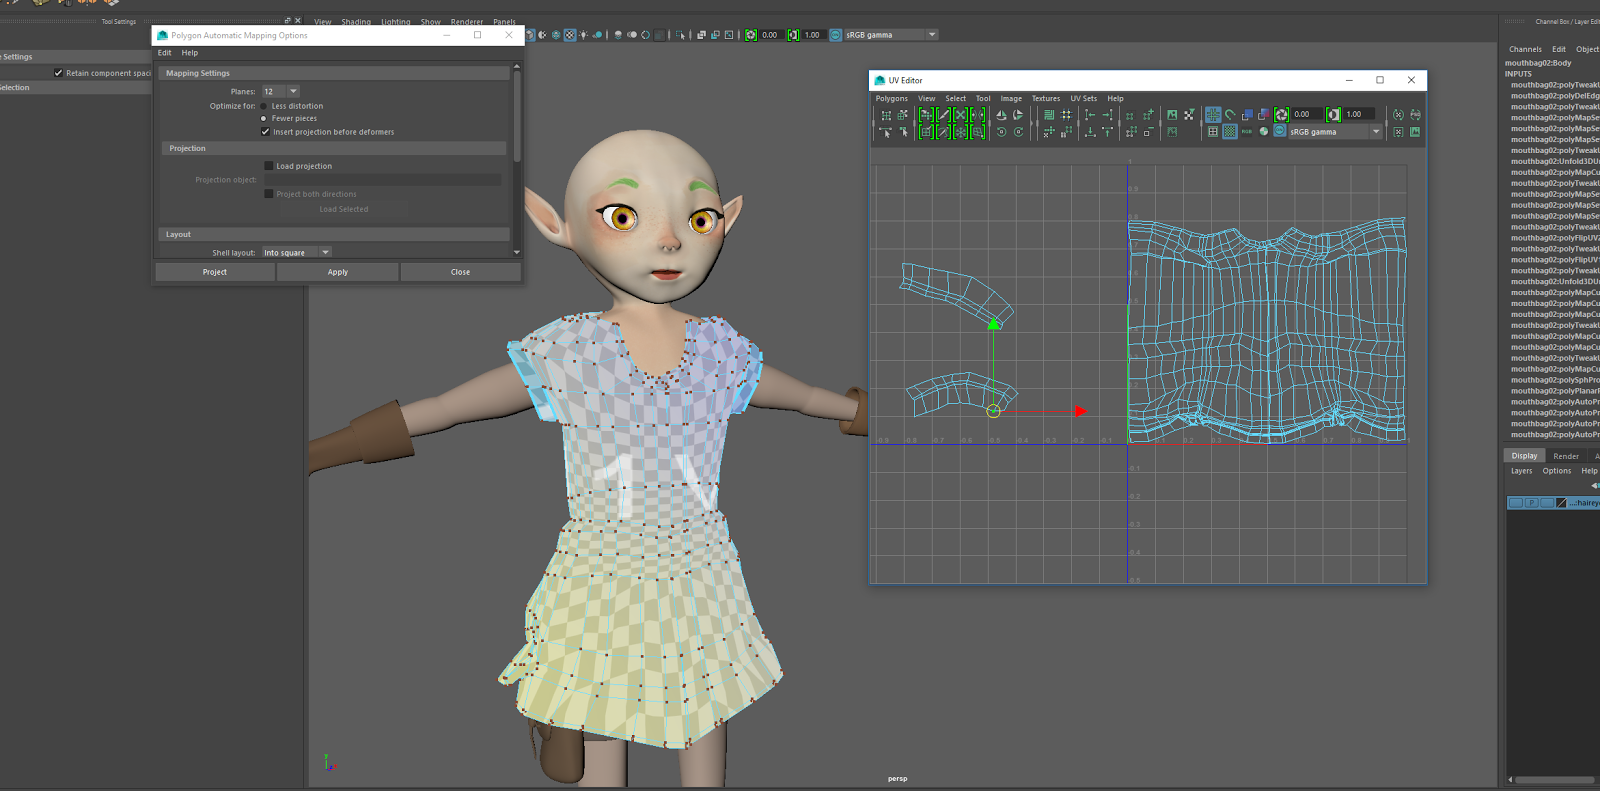
Dress UV update
Having some issues with the stretching of uvs across the bottom half of the skirt.
Issues resolved with the new smooth tool with the 2016 update of Maya. Unfolding UV's allows for the checkers to become more uniform, not stretching the textures. The relax option of this tool, allows for the UV projection to become more 'relaxed' and in my experience, looks more like the object which I'm about to paint. It is a dilema as to whether to keep the mesh uniform in checker boards, while losing recognisability of the original mesh, or to keep it an exampel of the dress. In my case, I will keep it as close as possible to the orignal; dress as I have a lot of detail to paint in.
Sunday, 25 December 2016
Dress UV Mesh
Seem runs under hair which is fine for a non moving character but may have some issue in rigging the character, for example hair billowing in wind. Since it is a singular colour dress,, it should be easy enough to match up in photoshop.
Glove UVs.
Created using the camera based UVs in the UV editor.
Difficulties facing - tool bar has become unusable so now having to use the space bar interface. I have heard other youtubers say they prefer this method as they become faster and more effective in using it, however I have found my workflow thrown.
These uv's were made easier by making cuts where the folds were to unwrap this glove.
I went back and recut into my UV mapping as I was having some issues with the UVs distorting on in the viewfinder, the checkered boards were becoming stretched and non-square.
http://pixelstains.deviantart.com/art/5-Photoshop-Brushes-for-Painting-Leather-522517740
Subscribe to:
Posts (Atom)